
Table of Contents
If you talk about climbing and secrets to become good, one of the surprising things good climbers speak about a lot is skin. It seems that the condition of skin makes a big difference when climbing, which makes sense. It’s your main contact point to the rock (together with your feet). Skin injuries are common, and flappers are one of the most annoying injuries. A flapper is a large piece of skin ripping open on your skin, often caused by blisters opening up due to friction. They are painful, and the sensitive, open skin they expose make climbing painful. Typical advice is to tape them, but how to tape flappers to the palm if they happen? What’s the best way to keep the skin in a working condition – taking a break is sometimes no option. Read on for details.
This post is not (mainly) about healing flappers
Note that this post is not how you prepare your skin for fastest healing. Keeping climbing and making the skin heal in the fastest time are actually two very different things. And they contradict each other: Preparing to continue climbing might introduce further damage to your skin while preparing for healing requires rest at some point. Whenever you continue climbing with skin injuries, you risk extending the amount of time needed to heal up. You introduce the chance of more skin injury to the already soft, damaged, and exposed tissue.
Ask yourself the question: Do you want to continue climbing now, or make sure you heal up as fast as possible. And then act. I’ll present you some strategies to continue climbing in this post.
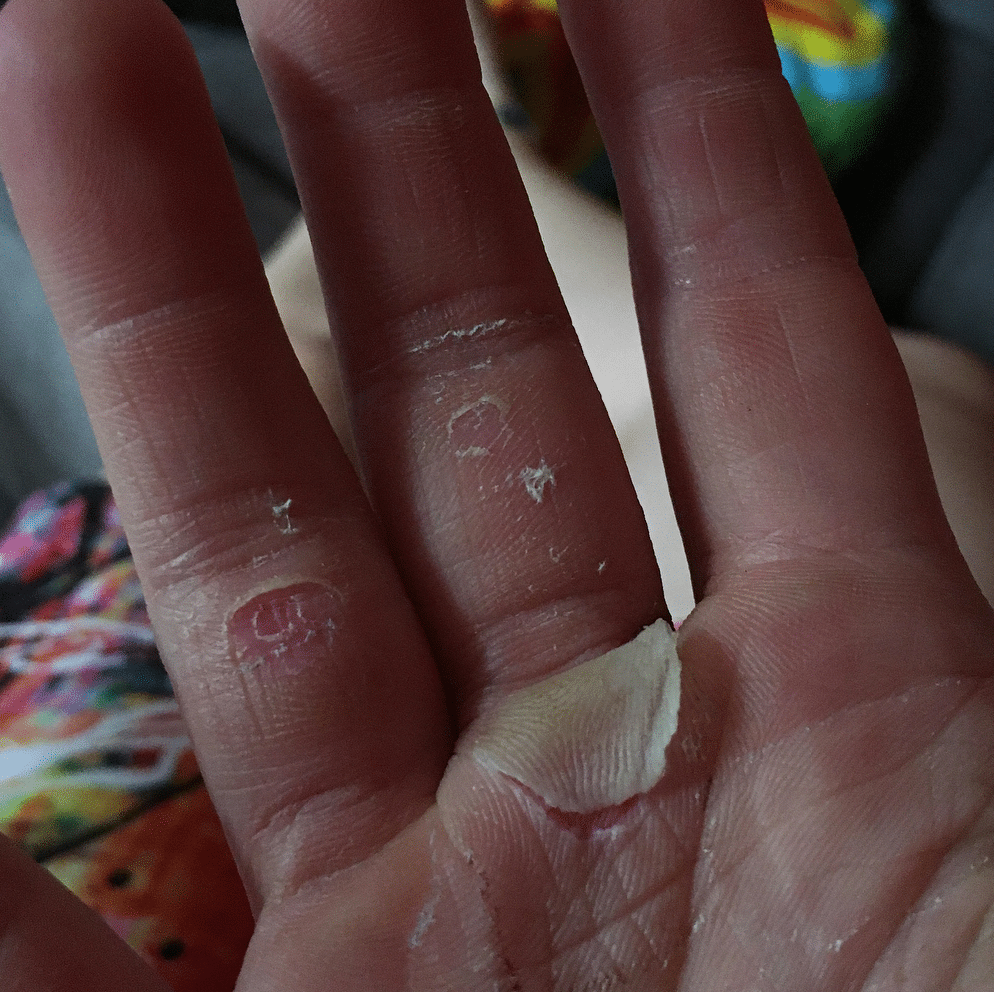
What is a flapper
You can get a flapper from most grips and holds, but they typically arise when you hold large jugs, etc. where lots of palm or finger area is involved.
Flappers usually occur because calluses on fingers or palm become too thick. While calluses are great, and the hardened skin protects from injuries, if the callus is too thick, it can get pinched between the hold and your finger, and eventually rip open.
You even feel this, when you put big forces on your grip on large holds. Make sure to grip properly when you hold big holds – aka use a shallow hold and try not to put a lot of force on your palm. This also trains your fingers more.
Longterm flapper prevention
Some words of advise: Long term it’s better to prepare your skin to prevent flappers as good as possible. You can do many things for your skin, but there are 3 things that are top priority:
1. Sand down your callused pads and fingers before climbing. Flappers come from climbing in large jugs, and gripping holds them with as much hand as possible. That’s why they rarely happen on routes with tiny handholds and often happen in bouldering gyms, where the easy routes consist of super big jugs. The smoother your skin is in terms of calluses, the less risk of flappers.
2. Harden your skin – climb a lot. By climbing a lot your skin hardens, and if you keep sanding down your calluses you will have very hard but “flat” skin, which minimizes potential surface for flappers to happen.
3. Keep your skin moisturized – chalk and rock climbing make your skin super dry. Super dry skin is also more prone to calluses and flappers, so make sure to use a hand balm. I love “climb on”.
Quick 2 minute routine before bed for Longterm flapper prevention
I usually sand down 2-3 calluses with 80 sandpaper for 3 minutes, until there is still hardened skin left, but the skin is not excessive. I then apply a good layer of the balm for the night. This quick routine helps two ways: I keep calluses small, minimizing risk for flappers. I also keep the hardened skin beneath the calluses in good condition, as to climb on works wonders to heal little abrasions and micro-cuts. By doing it before I go to bed, I also don’t have to worry about some of it spilling on my clothes, etc. – I can use a good portion, and overnight my hands will soak it in. Try it; your skin will feel really good in the morning.
When the flapper happens
Sometimes flappers happen, even though you try to prevent them. There are two options now: Skin is still hanging on your palm or skin came off. If skin came off, there’s not much you can do to tape it as it’s already gone. If there is skin left, it can make sense to cut it off too. Especially if you want to keep climbing.
Cut off edges
Try to cut off the edges of the flapper with a nail clipper or scissors, or even chew them off when you’re outside. This is crucial to prevent further tearing, as excess skin can keep tearing. It’s like a bag of candy – if you open it the wrong way, it tears down to the bottom. Dry the exposed fresh skin and apply some chalk to it if you want to keep climbing. Note: This will be painful, and it’s better to take a break and let it heal for the night. But sometimes, you need to keep going, take multi-pitches, for example. In this case, you can also apply the following techniques for flappers WITH some skin left.
Tape it up to keep climbing
If you intend on climbing more that day, then tape it up and go but once you’re done, take the tape OFF. Letting the air at your wound is one of the best things you can do speed up recovery.
If you wonder how to apply the tape exactly – the best way is to tape a long piece to your wrist, then go around your fingers and go back to the wrist. Go in a line that covers the flapper. This way the tape is anchored to wrist and finger and does not come off so easily. I made a photo of how you should apply the tape below.
Glue it up – the smart alternative to taping flappers
Gluing the open skin is another good method. While tape can come off, and it will do it even faster if you sweat, the glue holds much longer.
The skin under the flapper is ultra-sensitive; that’s why it makes sense to put another layer on top. You can use medical glue for this. This acts as a skin replacement and also seals off the wound. Medical glue comes in two ways: Made for human use and made for animal use. While the animal use is non-toxic too, it’s technically not FDA approved. That doesn’t mean its harmful; it just means there have been no human tests or the company had no money and resources to go through the excessive FDA approval process.
Stay away from household super glue

Don’t use Krazy glue or super glue. While Super Glue and medical glue are chemically pretty similar to each other, I would still stay away from Super Glue and Krazy Glue. They most likely have no damaging long term effects (and there are many climbers using them to glue skin and cuts, split fingertips, etc.), but they can irritate your skin and cause foreign body reaction. And their fumes have been found to cause liver damage and eye irritation. And they haven’t been tested for use on skin (neither animal or human use), nor have they been tested for human use. I would instead opt for either Dermabond or Vetbond.
Expensive: Get Dermabond or something similar
Dermabond is made to close wounds and skin abrasions as well as surgical incisions. It is approved and safe to use, but a package costs 150$+. If you have the money, go get a package, it’s great stuff.
Cheap option: Vetbond or liquid bandages
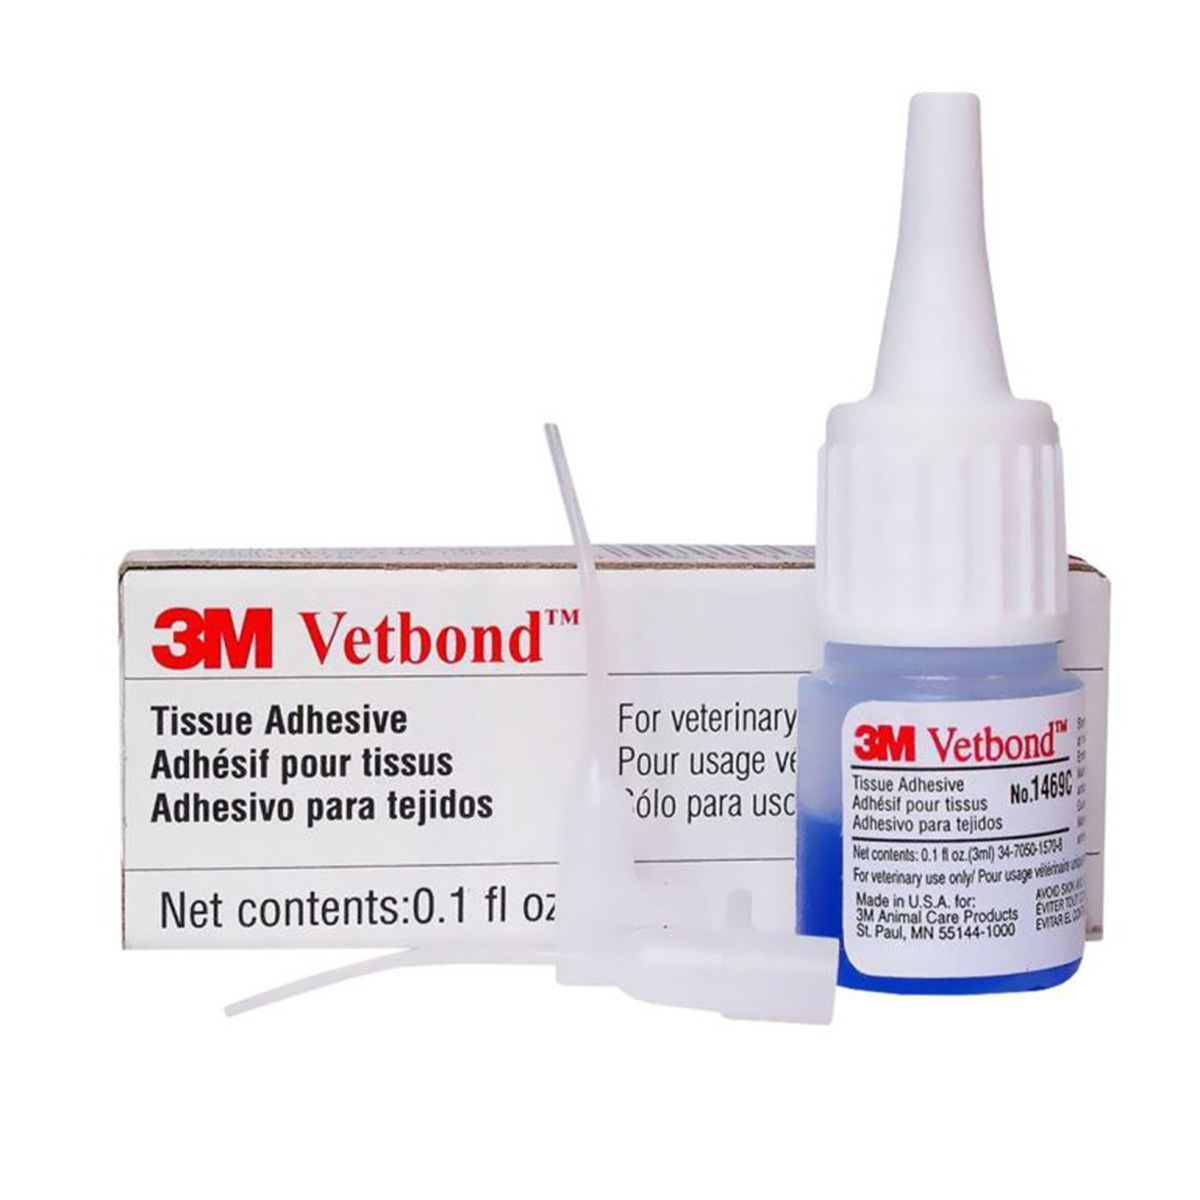
Vetbond is made for animals, so it’s non-toxic for use on skin. It’s not FDA approved – so, I cannot give you medical advice. As the name says, Vetbond is designed for animal use. But the glue works well on both human and animal skin, keep in mind it works for pigs and monkeys – and pig and monkey skin is as close to human skin as you can get.
But as it’s not FDA approved for human use, it means it hasn’t gone through the long and tough process of the FDA. If you read about the topic, there are many people using it for human wounds too, including me.
A lack of an FDA approval does not mean it’s toxic. It just says the company didn’t want to go through the expensive process of approving it, which also includes approving the packaging and so on.
Let it dry out on the air when resting
Letting the air at it will dry it out, and that’s what you want for flappers like these. I find that often I can climb on it again even when the wound is only halfway healed because it’s so dry — it doesn’t hurt or get torn further.
How to use Skinglue like Dermabond and Vetbond for flappers when to continue climbing or bouldering
This is not a longterm treatment. But if you need a quick and dirty fix to keep climbing with a flapper, follow this method. It works decent and keeps you finish your day of climbing. But you should try to rest and heal up afterward nonetheless.
1. Clean the area around and inside the flapper
Make sure your flapper or abrasion is clean enough. Let blood push dirt and bacteria away; you can also use some wound disinfection.
2. Stop bleeding if there is any
Stop bleeding with gauze or tissue by applying pressure.
3. Keep palm skin slack while applying
Make sure your palm skin is slack, so don’t tense your hand.
4. Apply the first layer of glue
Line up the skin (if there is skin left) with the wounds outer edge and apply a layer of the glue to the exposed flapper. It will seal the wound directly and immediately. If you have no skin left, apply a patch of Vetbond over the exposed fresh skin – it will act as a skin replacement, and protect the sensitive skin below.
5. Let harden, repeat 2 times
Wait a few minutes, repeat the process 2 times, to have 3 layers of glue.
6. Keep glue away from wool, cotton, etc.
Make sure to keep the glue away from cotton, leather or wool. These materials will cause a heat reaction with the liquid glue, causing burns.
7. Use water or saliva to harden the glue
The glue hardens by contact with water and thus will harden when in contact with blood. If your flapper does not bleed, spit on it while gluing. You can also moisturize the area of the flapper with some water.
The glue will come off over the course of 5-7 days.
You can reapply it if you like.