
Table of Contents
Oh, the good old fingers. While there are some parts of the body which take a while to notice as important, every beginner knows that fingers are essential immediately — no feeling like hurting fingers and broken skin from a long climbing session after a break. As fingers are so important, nut how do you tape your fingers for rock climbing and how to do it properly? There are two main reasons to tape: First is skin protection, second is the protection of the tendons and pulleys, aka structural stability. While skin protection is something, most beginners immediately feel, pulley and joint protection is something that might become important once you have been climbing for a while. I’ll show you the best methods here.
Tendon and finger injuries heal slow and should be avoided if possible!
But don’t underestimate this! Tendon and pulley injuries take a long time to heal, and while the proper gripping technique is critical to avoid damage, knowing how to tape against these injuries is also important. Skin flappers are also really painful and take days to heal properly, so it’s good to have some backup plans when you feel cuts and abrasions on your fingers.
I’m going to explain the reasoning behind taping, show you some methods to do it right, and give recommendations of good tape. After reading this article, you’ll be a theoretical pro in the art of taping – time to go out and practice!
Finger taping for skin protection
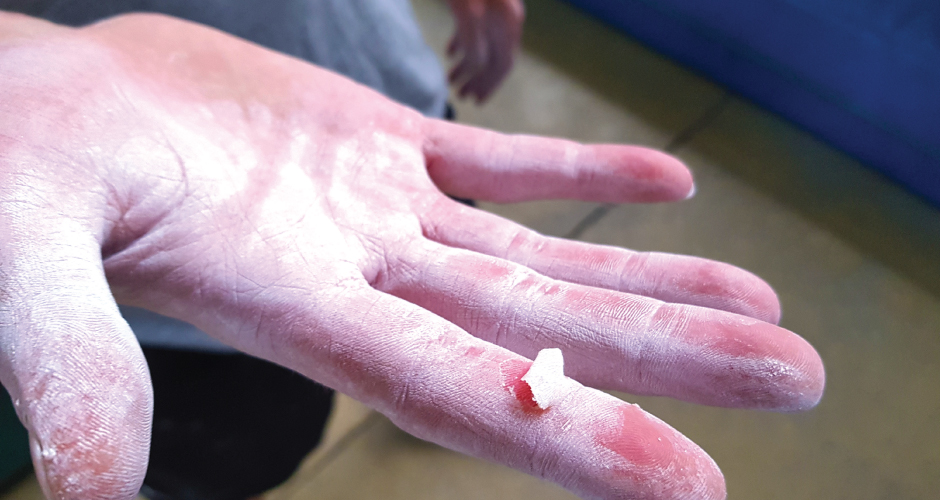
Most beginners use finger tape to protect against skin injury. When you start climbing or bouldering your skin is not used to abrasions. Climbing also puts a lot of pressure on your skin when you grip holds. If you climb outside on volcanic stone or limestone, this is even worse, but also inside the gym taping is useful.
The idea is to make a second layer of skin with tape to protect your actual skin from ripping apart. Usually, you do it at the end of a long and hard climbing session when your skin is becoming raw and torn down. Using tape this way can save you from days of pain with large flapping injuries.
There is a huge problem with tape though: It decreases friction, and you won’t have the same amount of feeling when gripping a hold. This means climbing will become harder as you have not the same gripping power when you wear tape. And it makes slipping even easier, especially when you are sweating a lot. So be prepared to slip and have a less reliable grip on slopers and difficult holds. The proper taping technique can reduce friction loss, we will explain this later.
Don’t overdo tape
If you overdo it with tape, you will also very likely never acclimate your skin to climbing. Fact is: Climbing is hard on your skin, and if you keep climbing without tape, your hands will eventually adapt, and harden up. But if you continuously tape up, this process takes longer or is stopped altogether.
My advice is that you instead use tape when there is no other way around skin injury, but don’t start taping with the first little hint of pain. Alternatively, you should control your grip and hand placement, as well as body positioning. You will be surprised how much less pressure and grip power you need if you position your weight correctly. This will also make you a more effective and efficient climber, so it’s a win-win.
So, while this process hurts, it will give your climbing more efficiency and precision in the long run. Another option is to tape your hand while you work on project routes and remove it for the final send attempt.Once you start bleeding from open cuts or abrasions, you should definitely stop the bleeding first and then tape. It’s super gross for other people to grab bloody holds.
Best way to treat skin wounds with finger taping
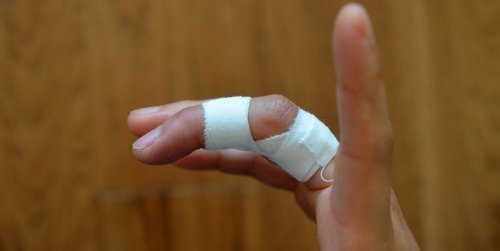
Best way to treat a wound with tape is taping the back of the open finger first, then wrapping the open cut or abrasion by overlapping tape and then wrapping the tape to an anchor to the closest joint to the wound. This way, the tape is stable and won’t fall off too easy.This is not an iron shell though, so it will come off eventually and one point your session is just finished, so go home and heal up.
Get some good skincare and rest! When you do crack climbing, you can also wear tape like a glove so wrap your wrist and hand multiple times. This way jamming your hand inside the crack for a stable resting and hold position is not becoming too painful, and your wrist and finger knuckles are protected.
2. Finger taping for injury prevention
The other thing you can use taping for is to protect your finger against injuries.Each finger has two main tendons. One flexing the middle part and one flexing the fingertip. Think about the anatomy of a finger: You have the skeleton of your finger, then there are tendons running underneath, and there are muscles. These three are allowing you to flex the finger.
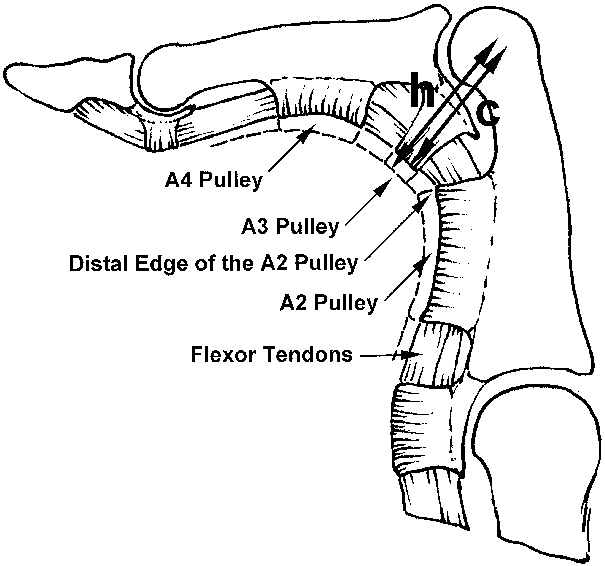
Pulleys are tissue sheaths used to keep tendons, muscles, and bones in your finger close together. The tendons in your finger are supported by pulleys, ligament-like structures, holding the tendons close to the finger. A pulley is designed to stop the tendon from bowstringing. If you crimp your fingers, then they are bending, and there’s a lot of stress on them as the tendons will be tempted to do a bowstring motion, making them pop out from the skeleton – not good.
Tendons are your biological tape
If the tendon is kind of like the interior biological tape keeping the whole package of muscles and bones together, then the pulley stops this tape from moving too much. Now if you’re crimping a lot as most climbers do you’ll start to feel a bit of soreness in your finger for doing it too much, and that is a sign that the pulley is becoming a bit inflamed and sore so we’re going to use exterior tape to help keep that package together and stop the tendon from bowstringing.
And you want to avoid a ruptured pulley from too much force, as then your tendon bowstrings when you crimp. This kind of injury is relatively new in the field of medicine, beginning to really show up in the 80s among rock climbers. The pulley destroying force is strongest around the second finger joints, which makes sense as this is the point where maximum forces occur when you crimp a hold.
Proper gripping technique is key
It’s even worse when you fall off a foothold because this leads to uncontrolled contraction of the hand to counterbalance the lost foothold. And that’s when finger injuries typically happen, aka ruptured pulleys. Most commonly, this occurs during power moves or when you avoid a fall at all cost, and it likely happens to middle and ring finger, as these are mostly under pressure when crimping. There are even studies that show that stress on this second finger joint is 30% higher when crimping compared to openhand holding. Proper gripping technique is super important.
So you want to protect the pulleys around this area. And tape protects these pulleys during movements by supporting their work and thus decreasing force on them.
Methods of finger taping to use
I’m going to show you three different ways of how to tape your fingers to prevent pulley damage now. A Video says more than many words, this one shows the 3 methods discussed. Watch in slow motion and you will have perfect taping in no time.
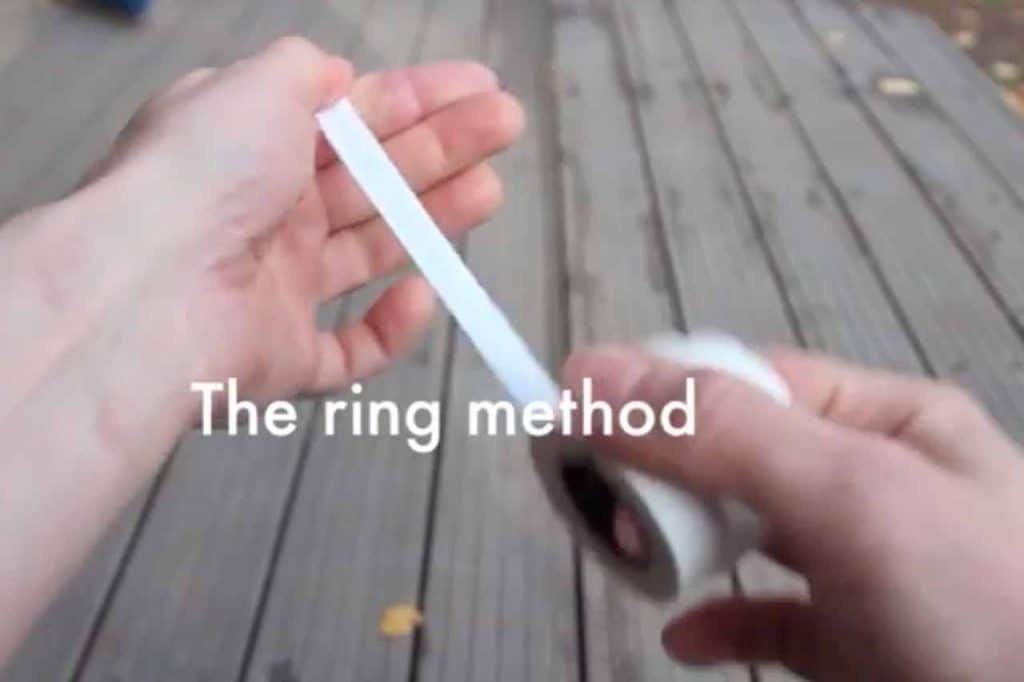
Ring method
For this method just grab some climbing tape and don’t worry – this is the easiest way to taping. It protects the two main pulleys that usually get injured. Lay the tape over the finger like a ring, shown in the picture. We use the middle finger in the photo as it’s one of the fingers that usually gets injured. Keep your finger slightly bent while applying the tape around it.
Then pull the tape with a little bit of tension while you start wrapping around the finger like a wedding ring. Slowly move the tape up the finger, so you have overlapping strips, while you keep the finger slightly bend. Just don’t pull the tape too tightly, as you don’t want to suppress blood flow or bandage the finger. Tension should be just enough to fasten the tape in place, one good indicator is if you can feel the tape supporting your finger a little bit when you crimp or flex the finger.
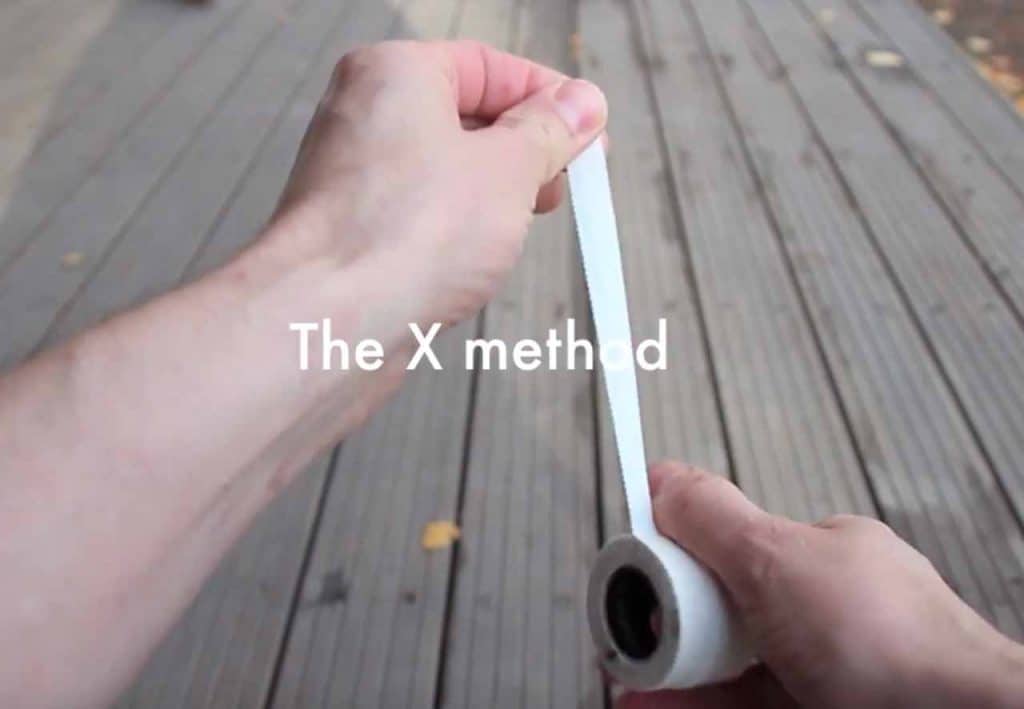
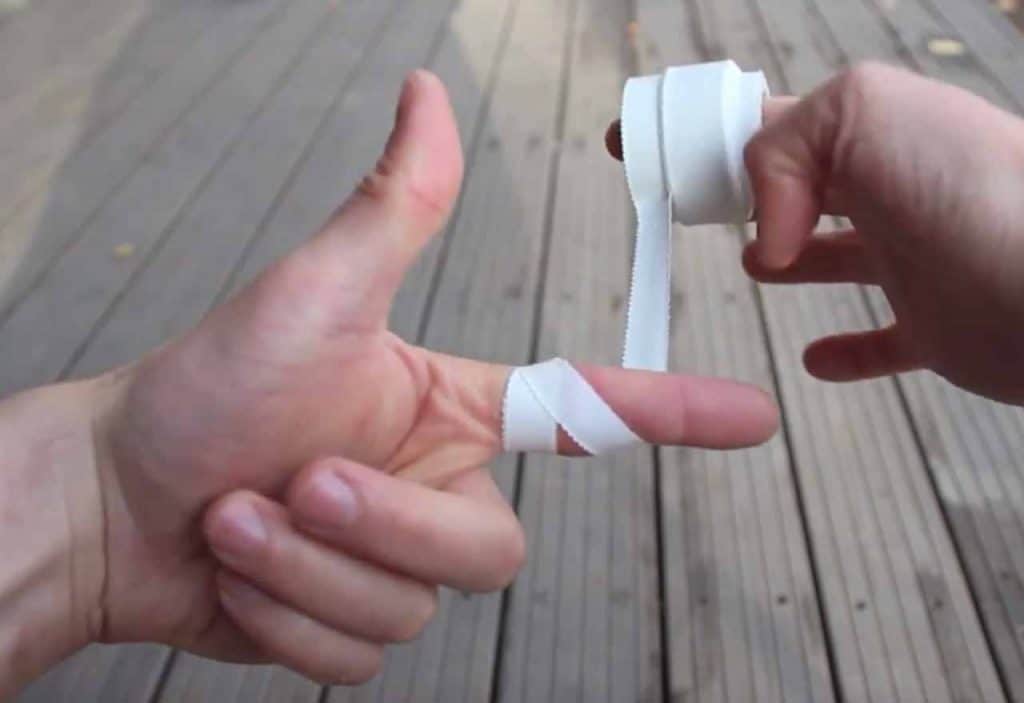
X Method
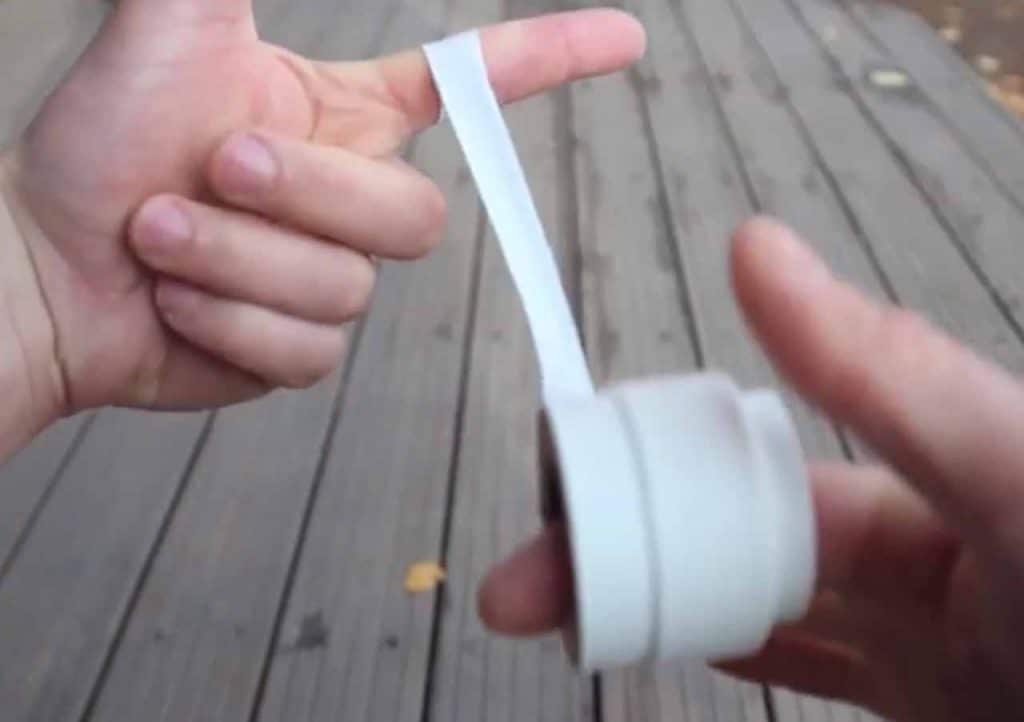
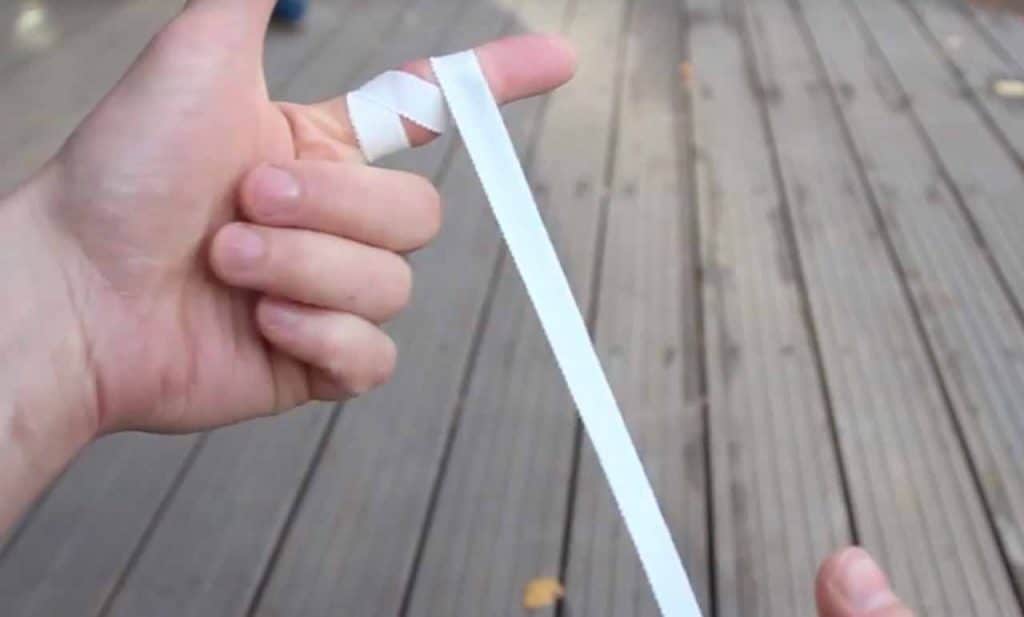
This method tapes both pulleys, front and back of a joint. The theory is that if one pulley is sore and damaged the other one will very likely be hurt and damaged too so better tape them both. You will use one piece of tape to tape both pulleys basically. Fix some tape around the first pulley in front of the joint, pull it tight and then wrap it around in a full pass and come back across the joint until you reach the other area behind the joint. Now continue, wrap one complete pass around, and cross back to where you came from.
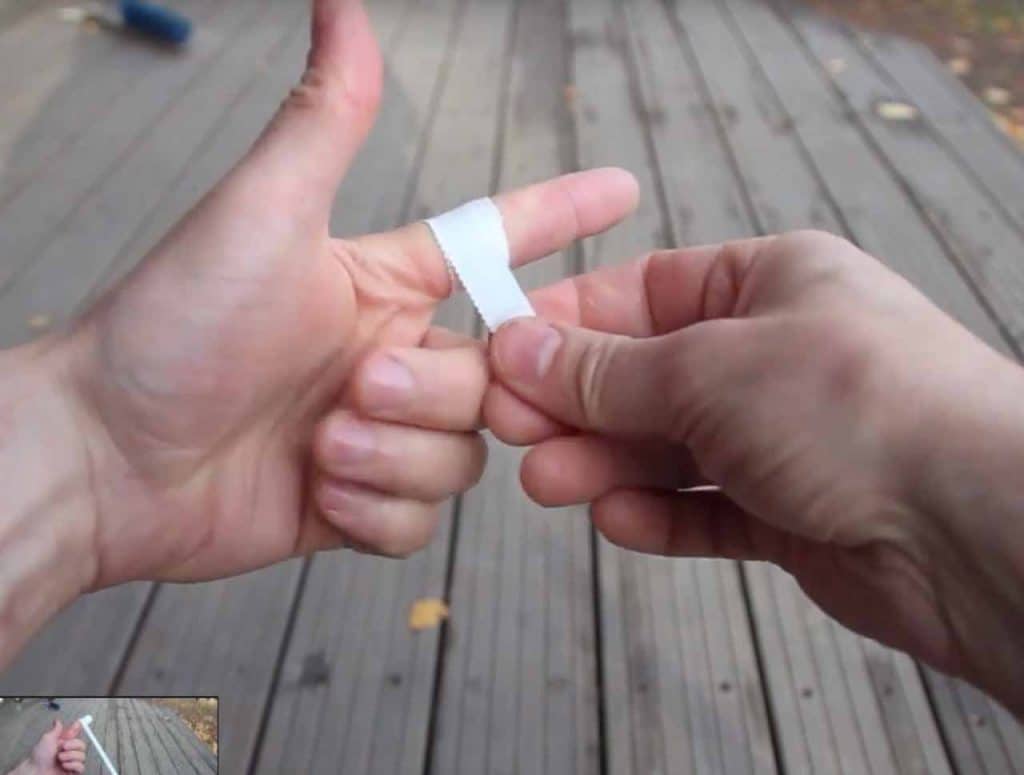
What you have now looks like an X because the tape crosses over in the middle of the joint. Repeat this two or three times. You now have the full range of motion, it’s not restricting, and bot pulleys are secured, and the tape supports them when you crimp or flex.
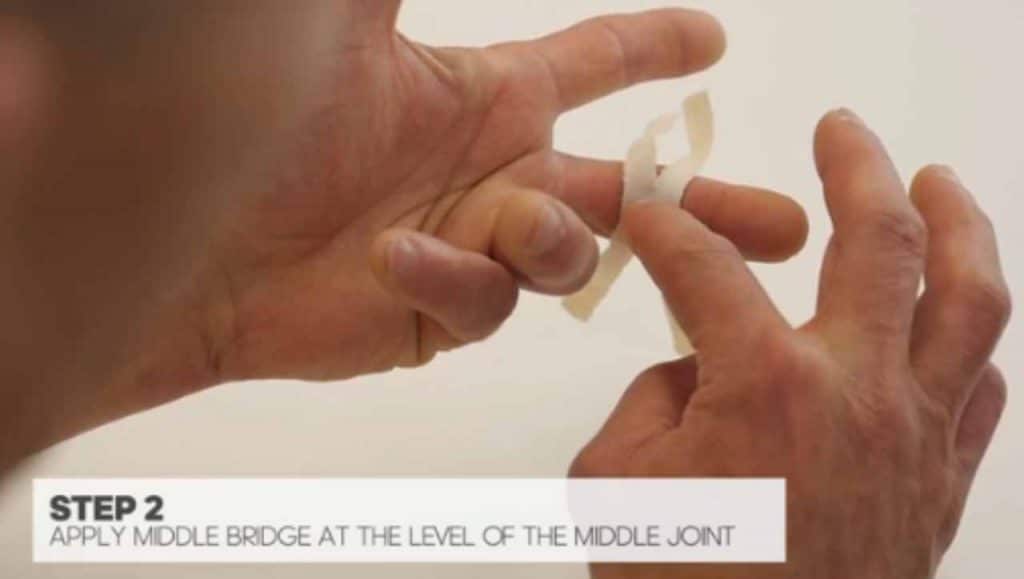
H method
The H method is the newest, and it’s also called the shuffle method because it was first described by Isabel shuffle in 2007 in the Journal of hand biomechanics. It is essentially a modified X method as it also assumes both pulleys to be sore when one starts to hurt.
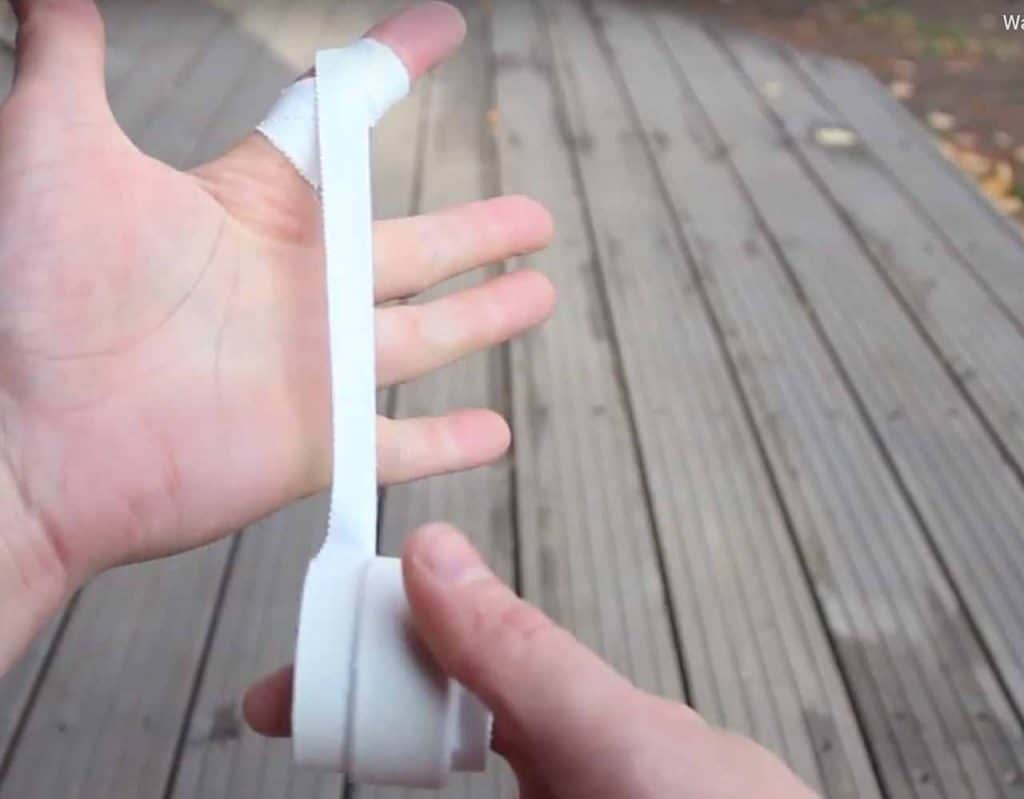
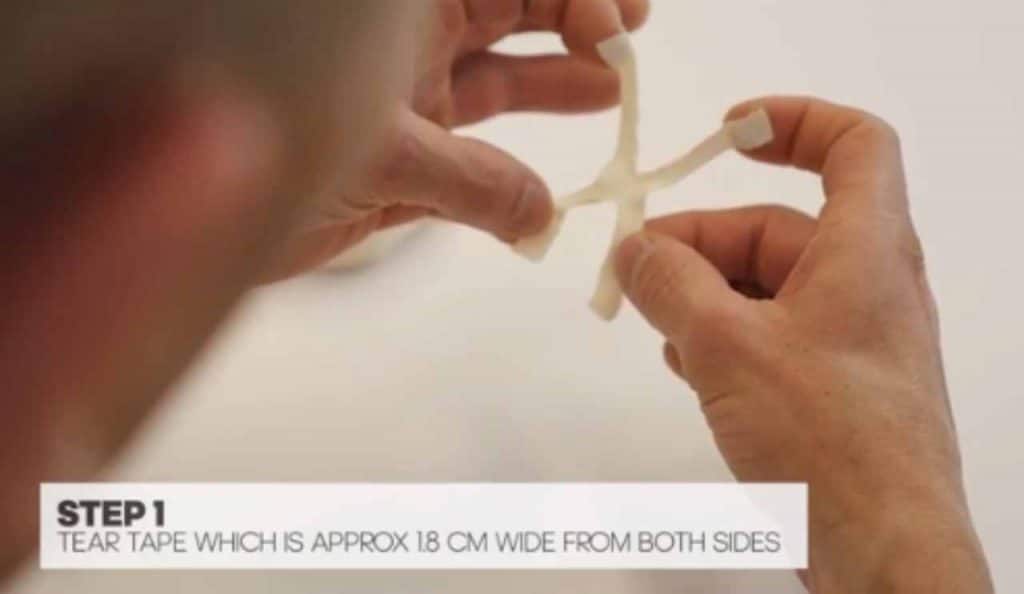
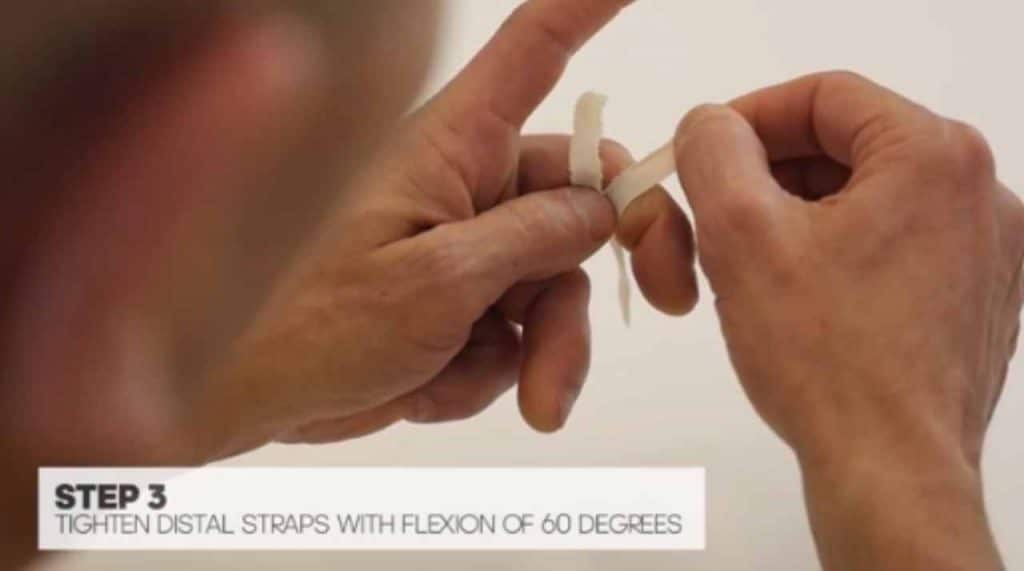
Get a piece of tape and rip it in the middle, so it has two little legs like in the picture. It’s actually a wide piece of tape that you kind of split down the middle on each side. Wrap it around your finger, lay the middle of the H over the joint and this does work a lot better if you have a wider tape. Start with the front pulley first and use the little leg here and come around the top. If it gets in the way, you can just move it to the side, then come around the top of the finger. Strap down and secure it. Then use the other leg only to do half a pass and finish that pulley off.
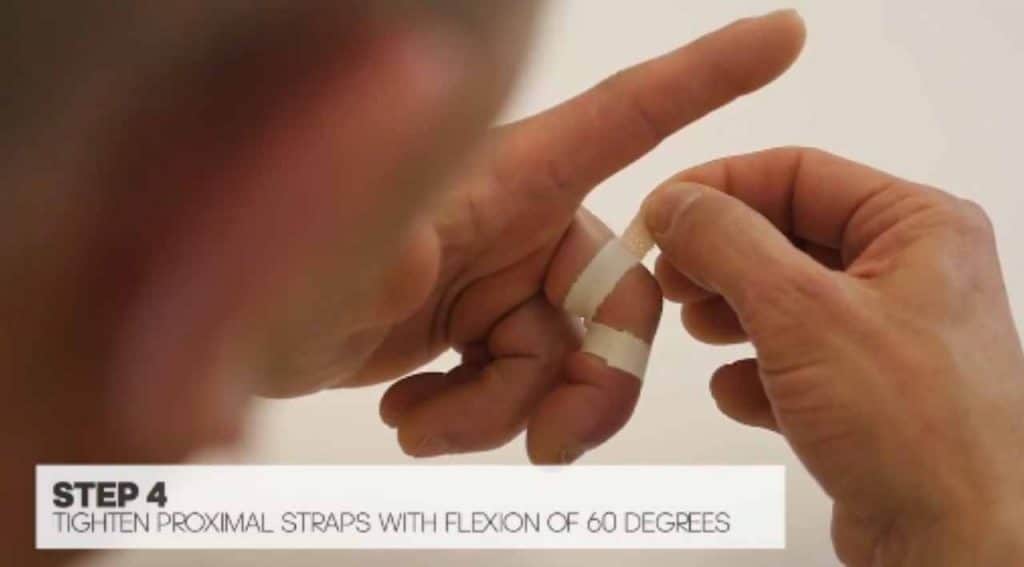
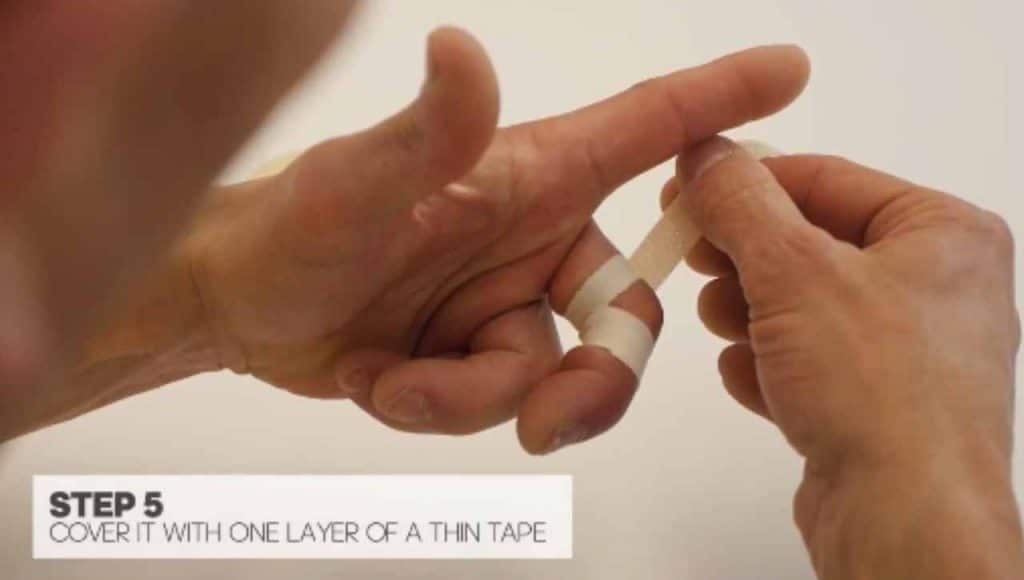
Start on the back pulley again moving around the finger, move tape which is in the way to the side and secure it. Then go the opposite direction with the other piece of tape. Work it around, and you will still have the full range of motion here because the knuckle of your finger is not taped up. But you can see when you crimp or flex the finger that you’ve got a lot of support on the pulley and on the back of your finger. Both pulleys are secured now and again if you crimp or flex the finger you should really feel the tape giving support.
Which method to use?
From a scientific point of view, the H method is best because Studies have shown with ultrasound measurement have shown that this method tapes up the tendon and the bone extremely close together. So theoretically it’s the most efficient way to keep things together, followed by the X method and the ring method which is the least effective.But if you remember, it’s not just the job of tape to keep the tendon and the bone as close as possible but rather to stop bowstringing and transfer forces from pulleys to another structure. All three methods successfully do it and alleviate pressure on the pulleys and your fingers.
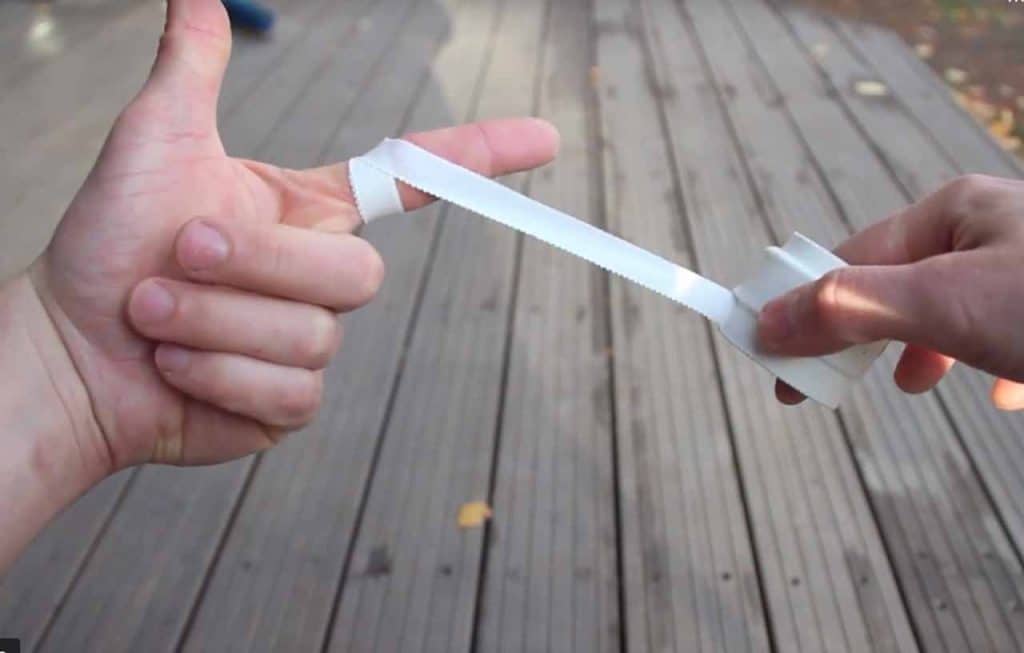
X Method – easy to make and best to use
I’ve used the ring method before I’ve used the X method and I’ve used the H method, and i like them all. Most times, I use the X method because it is easy to tape. The H method is a pain in the butt to tape sometimes, as it is more complicated. Whichever way you prefer, they all work, just make sure to tape proper, not too tight but tight enough.
Tape Recommendations – These Tapes Were Tested By US
So now that you know why climbers tape their fingers, some recommendations for tape brands are in order. I tested several types of tape in the past, and this is my personal experience. In my book, Metolius Climbing Tape works really good and i use it often. If i don’t use Metolius, i use Evolv Magic Finger Tape.
It’s very sticky and still easy to roll and use. Even when used in multi-pitch crack climbing as a glove it will hold. While it’s a little difficult to split and rip, it still works nicely for individual finger taping. Be careful if you have lots of hairs, this tape sticks to them. Price is also low. Another brand I can recommend is Leukotape, which is pretty expensive but even stickier as Metolius while also being very durable.
6. Conclusion
Wow, a lot of information in one article. Takeaways: Taping is suitable for skin protection both for fingers and the whole hand when crack climbing, but don’t overdo it – you want your fingers to harden up. Taping is also great to prevent finger joint injuries, use any of the three methods I explained. Buy some Metolius or Leukoplast Tape if you want good tape and keep in mind that proper climbing technique decreases the risk of injuries and skin problems. Learn proper gripping technique too!
And if you liked this article make sure to subscribe and check out my other articles on climbing gear, proper toprope anchors and bouldering preparation.
Photo/Videos from Youtube, Other Websites, Unsplash, Grass Roots Physical Therapy or selfmade.